
A Happy Holiday...
I know this post should have come before the last but I had been waiting for the Lemoncello to finish for a while and I was thrilled to have the first batch done.
As most of you know Tom & I were back in the States during the holidays. We did a lot in a little time and we're both thrilled to be back home.
There are many things we miss from the states (mainly family and friends).
The first leg of our trip was in Richmond where we spent Christmas. It was wonderful being back in our house, seeing great friends, and driving with normal people. We have to thank all our friends for instantly making feel like we had never left!
It was wonderful to see Tabitha, Angi, Maya, and the folks at the Richmond SPCA.
Also amazing was seeing, eating, and drinking coffee at one of our favorite places, the Daily Grind Short Pump. Sam, Allison, and their family always make us feel truly at home!
Here are few photos from our visit - the usual eating, drinking and general merry making:
 |
| Christmas Eve w/ Tabitha... |
 |
| Dinner w/ Maya, Angi & Tabitha |
A special thanks needs to given to Pat Manning and the staff of Lemair at the Jefferson!
Pat got us a lovely reservation for Christmas day at Lemair & we had a fantastic dinner with Tom's Mom & Tabitha was able to join us which made it even more special.
 |
| The Creche at the Jefferson |
 |
| Giant Gingerbread house |
 |
| Tom & his Mom (Georgia) outside the Jefferson |
Next:
A New Year...
We were lucky enough to be able to spend that with James, Greg and many old (and new) friends in New York! James, as always, threw an amazing party at their house - with many wonderful culinary delights (enough to feed a small army).
More than the party, more than the people, more than the cocktails - it was great just to spend a little time with James and Greg!
As always, it seemed like the whole of Long Island was invited to this gathering.
To put it succinctly - A Great Time was had by ALL!
Of course I had the camera...so here it is...
 |
| James - Kitchen... |
 |
| Greg - Bar... |
 |
| A Pre-Party Toast! To a Great 2012 & Friends! |
 |
| Tom & Timothy |
 |
| Lindsey & Craig |
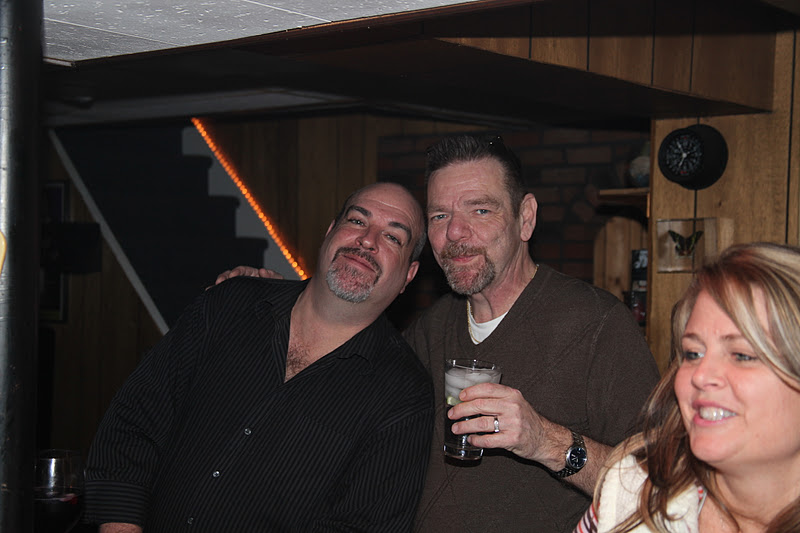 |
| Rob & Ron |
 |
| Billy & George |
Even though Dick Clark didn't look his best - everybody at our party was looking marvelous!
I was great to see the entire Gale family and the Ronkonkoma neighbors this holiday!
Everybody is looking great. A special 'Brava' to James' Mom, Marie, who recently had knee surgery and is doing fantastic. The next time we see her we know that even the cane will be gone! Keep it going Marie!
A sneak preview of the next posting...
A Century of Life...
2012 is a very special year it marks a half century for two wonderful people.
We celebrated a combined 100 years for Tom & Greg!

We had am amazing dinner for the combined 100 years of life at one of Tom's favorite places.
All I can say is that it was a great evening. The food was delicious, the pianist was elegant, and the company was the best!
Before ending this post, I want to give a quick update on a previous post.
We finally received our plates! The ones we made during our ceramics adventure.
Drum roll please....
Before ending this post, I want to give a quick update on a previous post.
We finally received our plates! The ones we made during our ceramics adventure.
Drum roll please....
 |
| Tom's work of art... |
 |
| Ron's work of art... |
Another 10 pieces and will have a full service!
Until the next posting, we want to wish everybody a great healthy life.
We love you all and wish everybody many happy adventures...
Abbracci a tutti
Ron & Tom


